Step-by-Step PiaSoft Setup
- Admin
- Sep 6, 2017
- 2 min read
Getting Set Up
Getting set up with VPC Flow Logs and PiaSoft is easy. It takes 10 minutes from soup to nuts.
UPDATE 3/31/18: We have moved to a CloudFormation template for setup to make it even easier for our customer. Please checkout our Setup page.

First, you need to set up VPC Flow Logs through the AWS Console. Let's start by turning on Flow Logs for one ENI.
In the EC2 Console, navigate to "Network Interfaces":

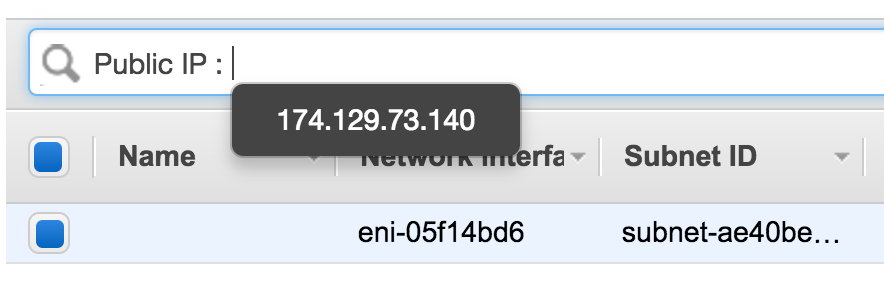
Find the network interface that you want to create logs on. Search for it by public IP, private IP, or instance ID name. This is the last time you will have to go to multiple pages to merge data -- Pia will take care of that soon.

Once you have selected your ENI, click the "Flow Logs" tab in the lower pane. Then, click "Create Flow Log" to get this dialog:

Click "Set Up Permissions" and follow the prompts to create an IAM role. This allows AWS to post to your CloudWatch Logs streams. If you use the default role name, fill 'flowlogsRole' into the 'Role' box.
For "Destination Log Group" type "MyFirstENILogGroup" or a helpful log group title.
Then click Create Flow Log. Per AWS, it can take up to 15 minutes to start receiving logs. The magic starts working slowly?
Within 15 minutes, you will see a new log stream for your ENI in CloudWatch Logs:

Set up PiaSoft Flow Logs Viewer
This part is easier than the flow logs console. There are only three steps and minimal waiting.
See our Setup page for the instructions, or take the short cut by:
Launch our AMI (7-day free trial!) from the AWS Marketplace.
The AWS Marketplace will be pre-configured with security groups. Tighten the CIDR ranges from 0.0.0.0/0 to "My IP" to make it accessible only to you.
(Optional) Instead of using your root access keys, create a specia user for Flow Log Viewer. See the Setup page to tighten up IAM access to only the minimal set of permissions. Recommended if you will be a frequent user, or will share the keys with colleagues.
Once your instance is up, navigate to it by typing:
https://<your new public IP>/
This will bring you to the login screen:

Use an AWS Access key you already have, or the one you created in Step3 above.
Next, find the log group you have set up.

Within that, you will see Log Streams enriched with data from your ENIs. This makes choosing the right log stream easy!


Comments